Create Body Sugar Scrub Recipes at Home: Ultimate Guide
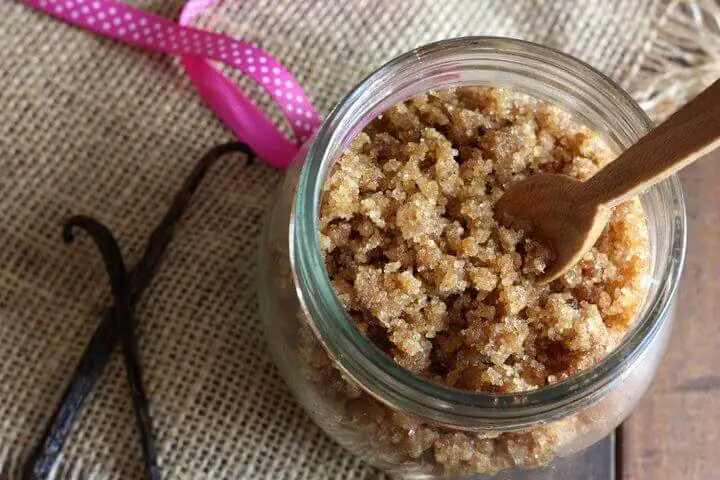
Are you looking for body sugar scrub recipes you can make at home? Craving an easy and affordable way to get spa-like treatment without leaving the comfort of your own home? Our ultimate guide on how to make body scrubs with sugar will show you just how simple it can be.
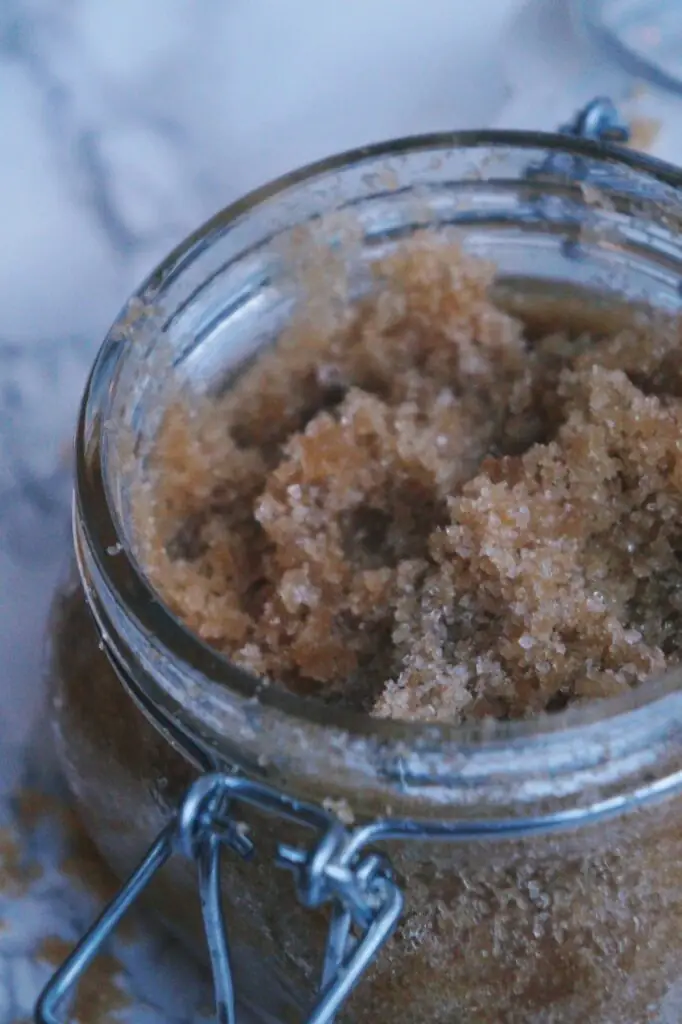
There are countless benefits that come with making a homemade body scrub from scratch. Think of the cost savings and personalized ingredients that let you make exactly what you need.
Plus, creating these recipes is super fun. There’s something satisfying about being able to whip up an amazing product in your kitchen! We’ll give you all the tips and tricks so you can make the perfect recipe every time.
Ingredients Required
The perfect body scrub recipes require:
- Some brown sugar.
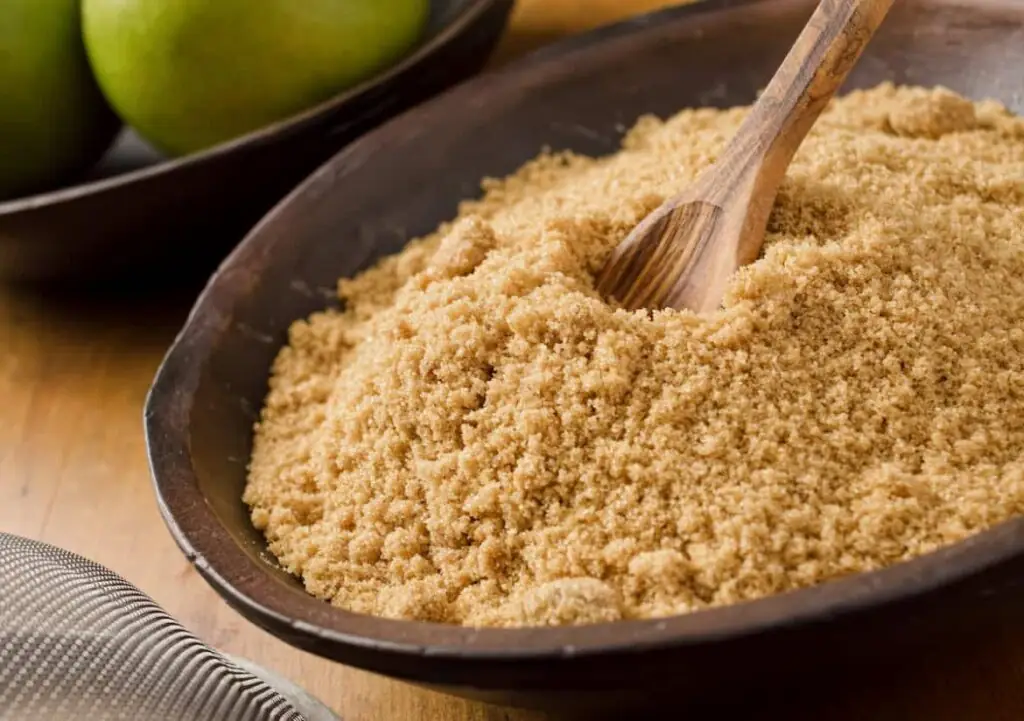
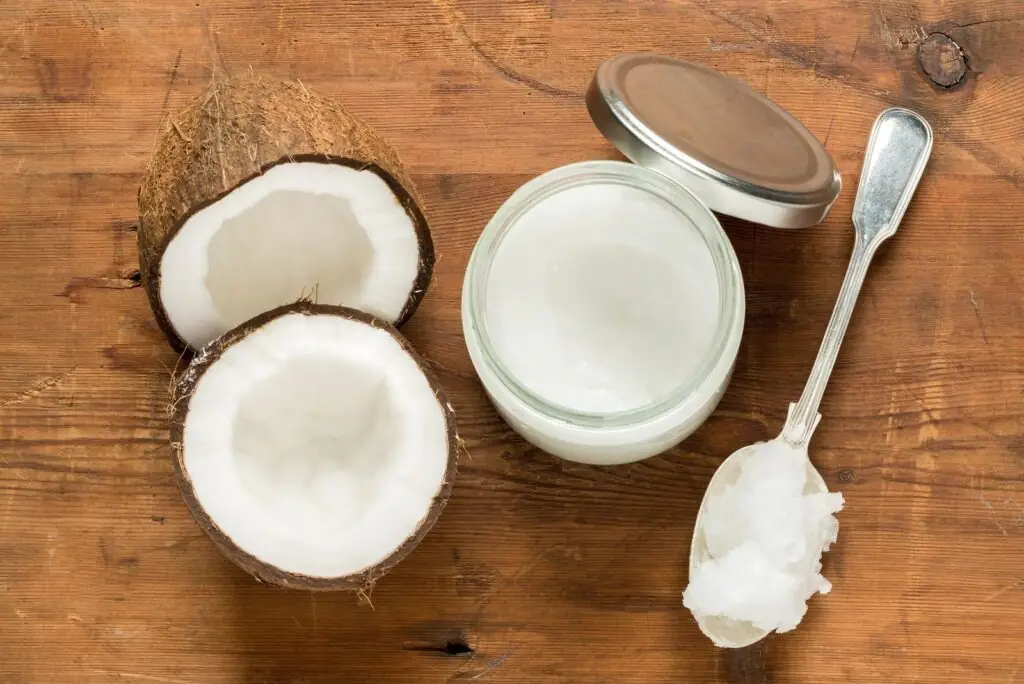
- Oil of your choice (coconut, almond, or olive oil are better options for your recipes).
- Additional fragrances or extracts that fit your fancy.
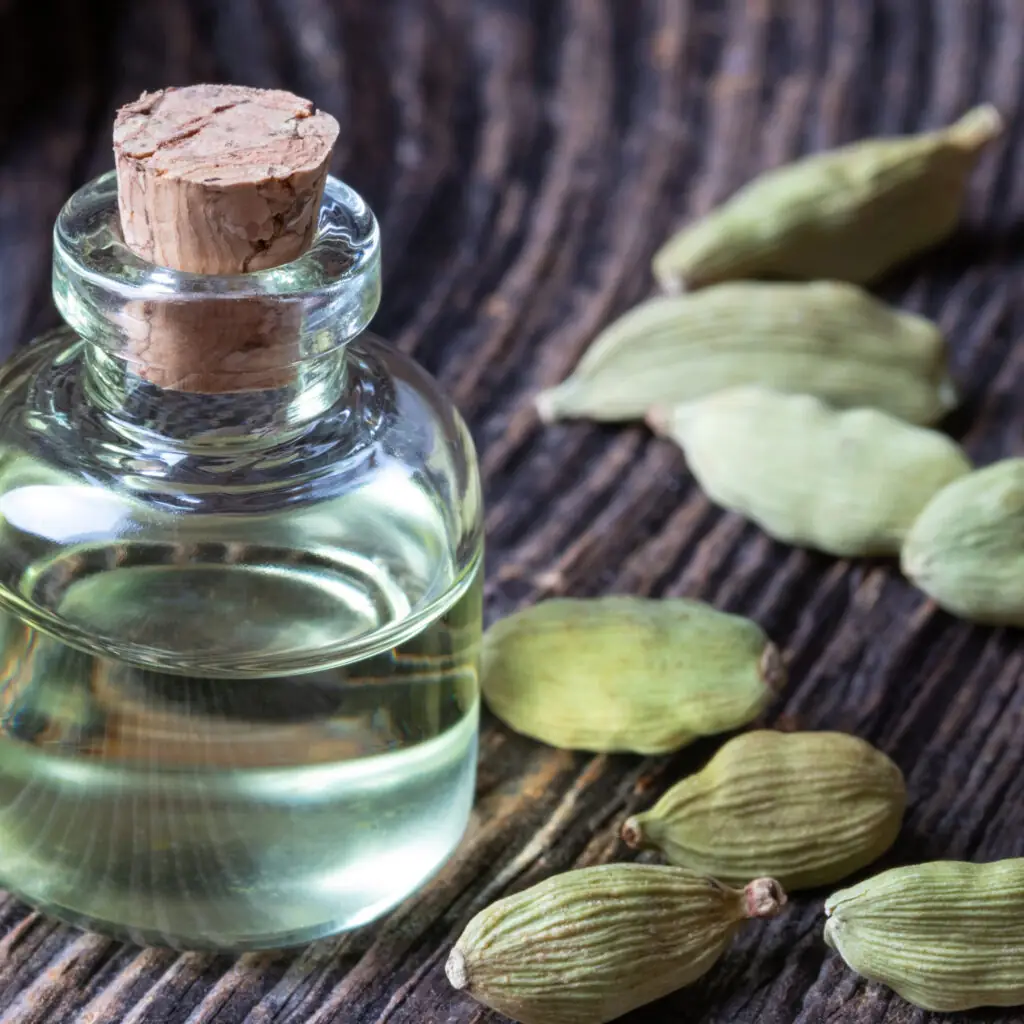
Once you’ve gathered these items, it’s time to start making your own homemade body sugar scrub recipe. You can use either white or brown sugar for this mixture – both will do the trick! Just mix equal parts of each together in a bowl until you reach your desired consistency – not too dry, but not too wet. Then add in other scents or extracts as needed.
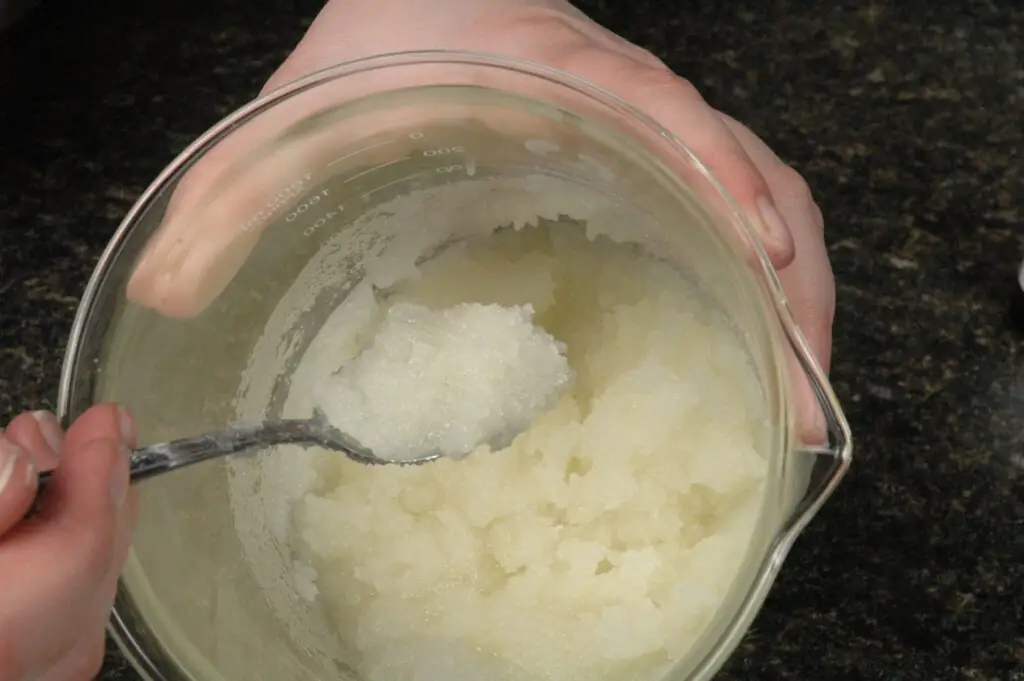
Finally, once everything is mixed together nicely, you’re ready to begin using your DIY scrub! All you have to do now is apply it directly onto damp skin in circular motions before rinsing off with warm water. Every time you use one of these scrubs, be prepared for super soft skin that smells amazing!
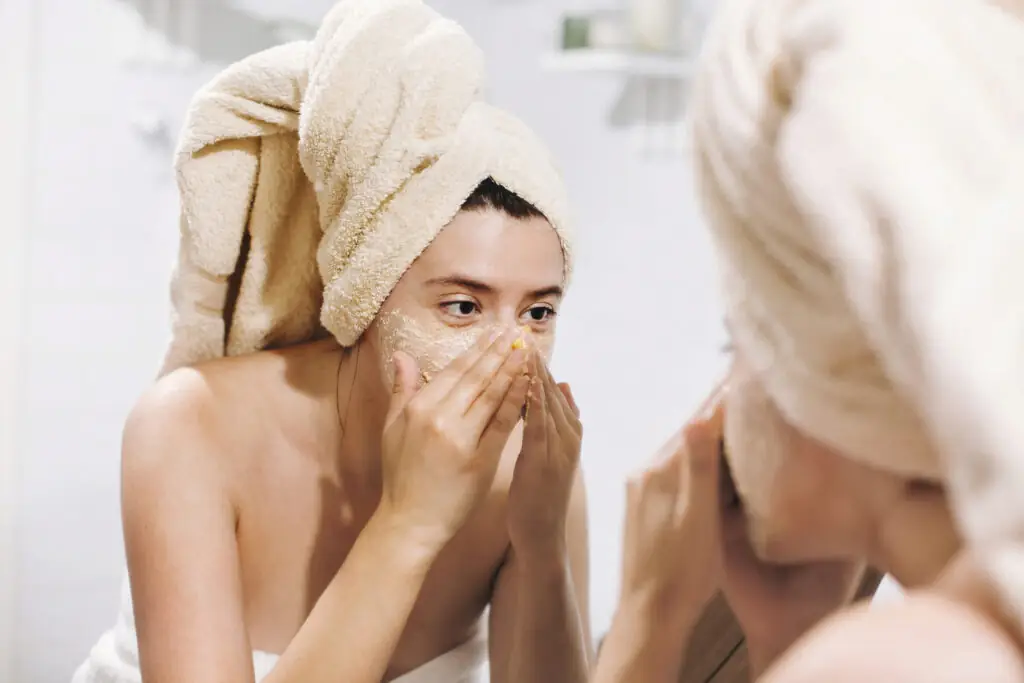
With a bit of practice and experimentation on how much oil works best for your skin type, creating a personalized sugar scrub couldn’t be easier. Now let’s move on to directions for making sugar scrubs.
Benefits of Using Sugar Scrubs
The benefits these recipes offer are plentiful. They exfoliate and soften the skin while also giving you a spa-like experience at home. Sugar is a natural humectant – meaning it helps to keep moisture locked into the skin, preventing dryness and irritation.
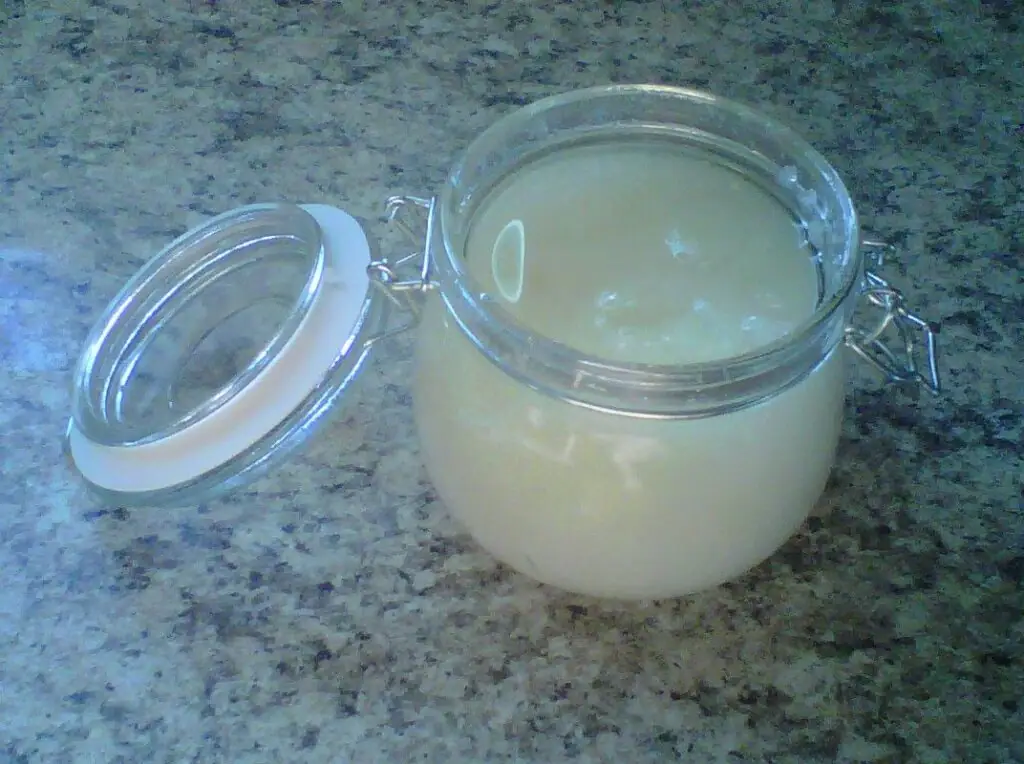
Store-bought scrubs can be expensive. Making them at home lets, you save a lot of money, especially in the long run. Also, you get to be the boss. You decide what goes into your scrub. No need to be at the mercy of companies producing something you may or may not like.
In addition to their moisturizing properties, sugar scrubs have antibacterial qualities that help fight off bacteria on the skin’s surface and pores. This means fewer breakouts and healthier-looking skin all over. Knowing this extra benefit certainly adds another layer of relaxation while enjoying a homemade scrub session!

You don’t need any special knowledge to employ these simple yet effective treatments. Just a few basic ingredients combined together in easy DIY recipes can turn any day into a pampering one.
Types Of Sugar Scrubs
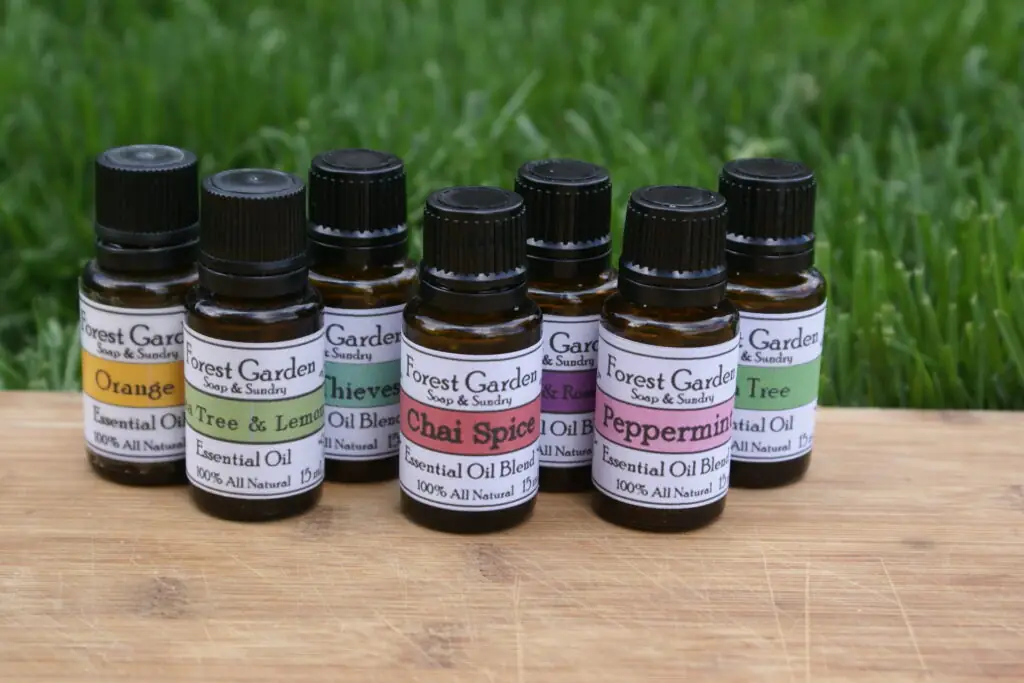
The most common type of sugar used for scrubs is white granulated sugar mixed with oil, such as coconut or olive oil. This combination helps exfoliate the skin while infusing it with moisture from the oil. If you’re looking for an even more luxurious experience, consider adding essential oils like lavender or rosemary to your recipes for added relaxation benefits.
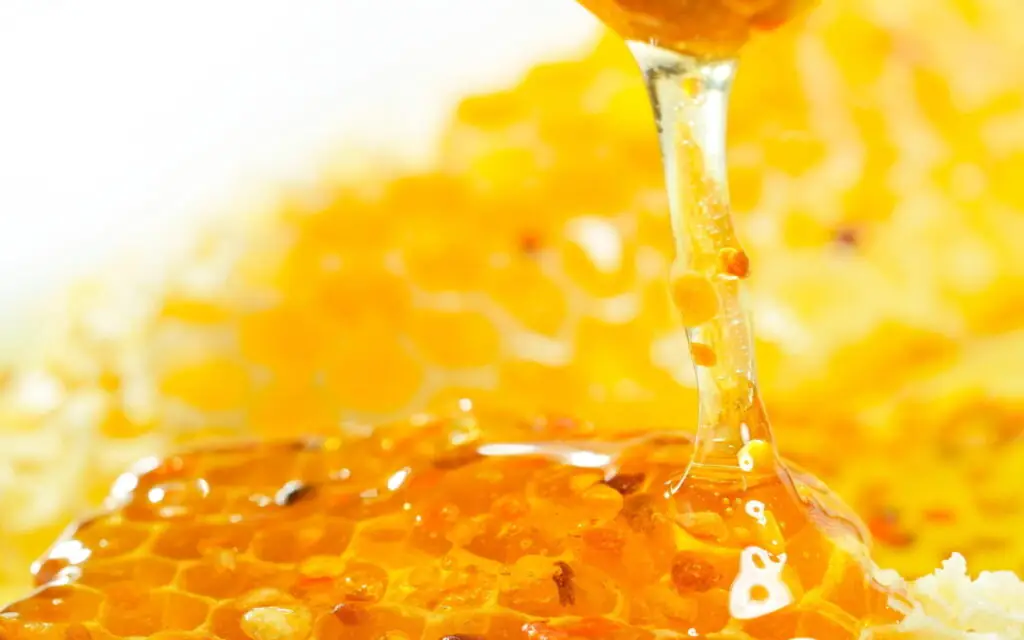
For those who prefer something a bit gentler on their skin, brown sugar makes an excellent alternative. Brown sugar has smaller particles than white sugar, which means it will be less abrasive on sensitive areas. You could also add honey to this mixture for added nourishment and hydration properties.
Both these recipes provide amazing results when used correctly. However, it’s important to remember that everyone’s needs vary depending on their individual skin type. The best sugar scrub recipe for your body may not be ideal for someone else. Some people prefer a body scrub recipe with brown sugar, while others prefer white.
Usage Tips
Using these scrubs can be a luxurious experience, but it’s important to know the right techniques for maximum effectiveness. From understanding different types of sugars and oils to getting familiar with the ratios, there are many tips and tricks that will help you get the most out of your scrub routine.
Firstly, don’t forget about the power of essential oils. Adding the perfect blend of essential oils not only gives your scrub a delightful scent but also comes with therapeutic benefits like calming anxiety or reducing stress. Try experimenting with different combinations until you find one that suits your needs best!
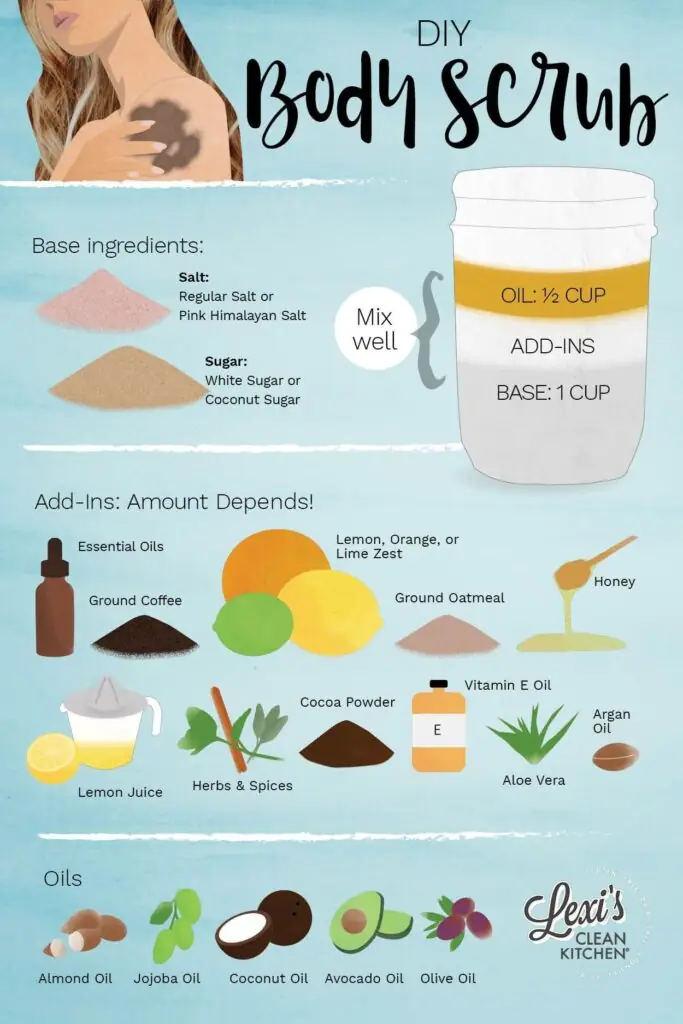
Additionally, when choosing which type of oil to use as a carrier for your scrub, consider using light-textured ones such as almond oil and grape seed oil since they won’t leave behind any kind of greasy residue on the skin after application.
It is also key to remember ratio rules; too much sugar can make your scrub feel grainy and uncomfortable, while too much oil could result in an oily mess all over your shower floor! To avoid these kinds of problems, try mixing ½ cup brown sugar with ¼ cup white granulated sugar along with ¾ cup liquid oil per batch when making body scrubs at home.
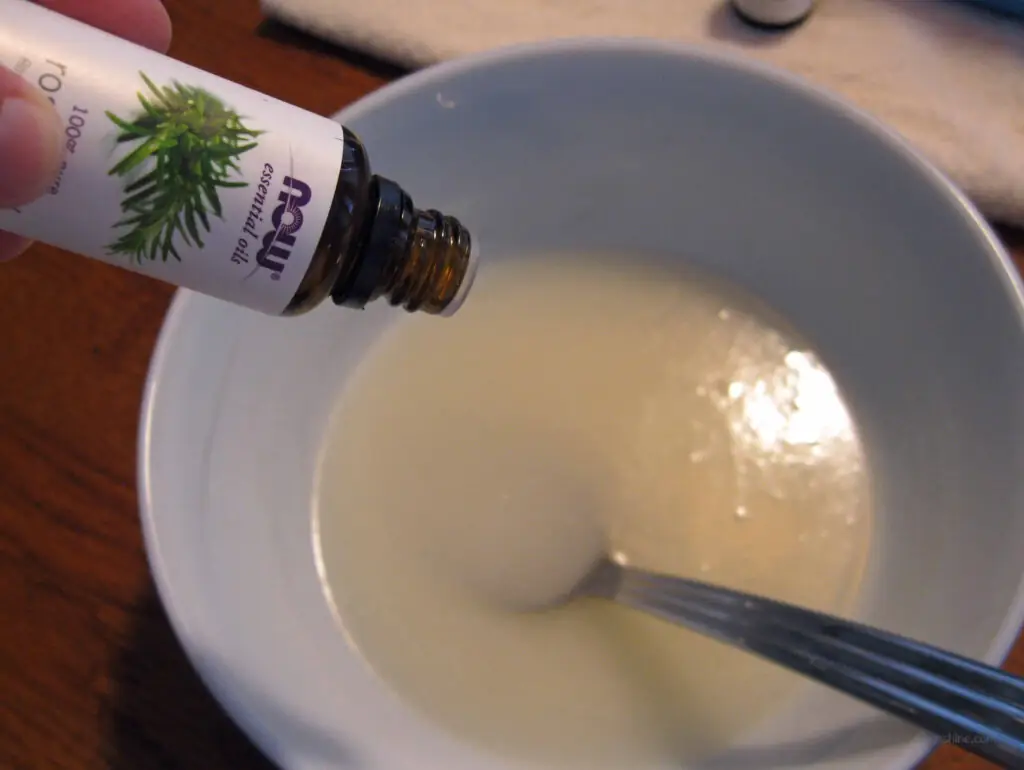
Knowing the right proportion is paramount for achieving desired results from using homemade scrubs — never underestimate its importance! By following simple steps like adding essential oils and finding the correct balance between ingredients, you’ll be able to enjoy smoother and softer skin each time you use them.
Common Mistakes to Avoid
There are some common mistakes that people make when they create their own recipes. In this section, we’ll cover the most common errors so you can avoid them in your own projects.
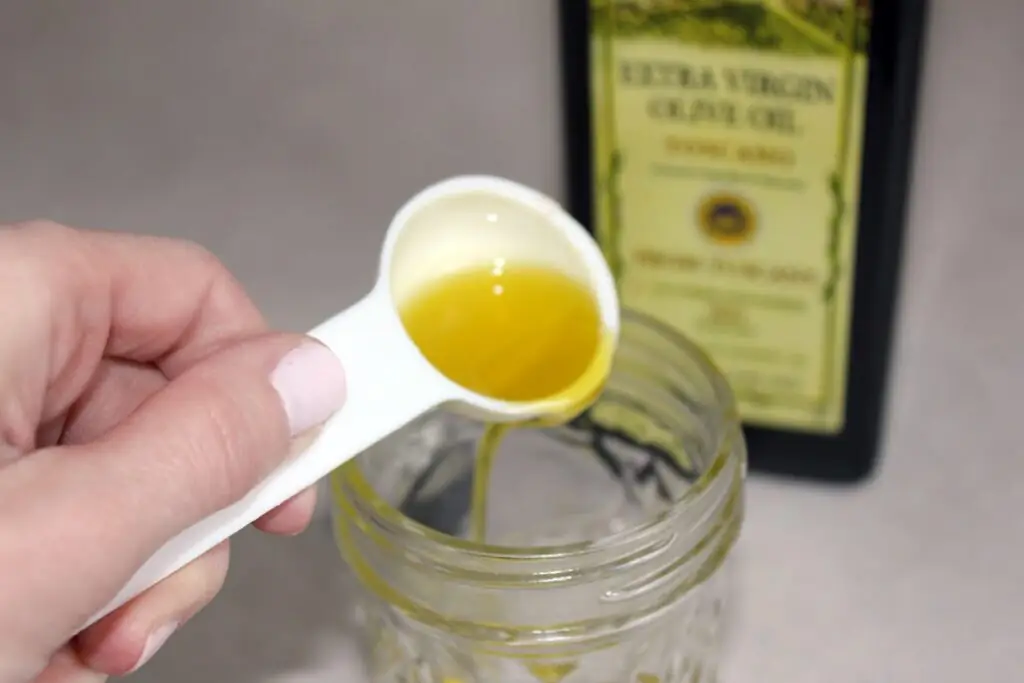
First off, it’s important not to use too much oil or other lubricants when making your scrub. Too much oil will leave a greasy feeling on your skin. It’s an unpleasant sensation for many people. You should just add enough oil to your recipes to keep the mixture from becoming too crumbly.
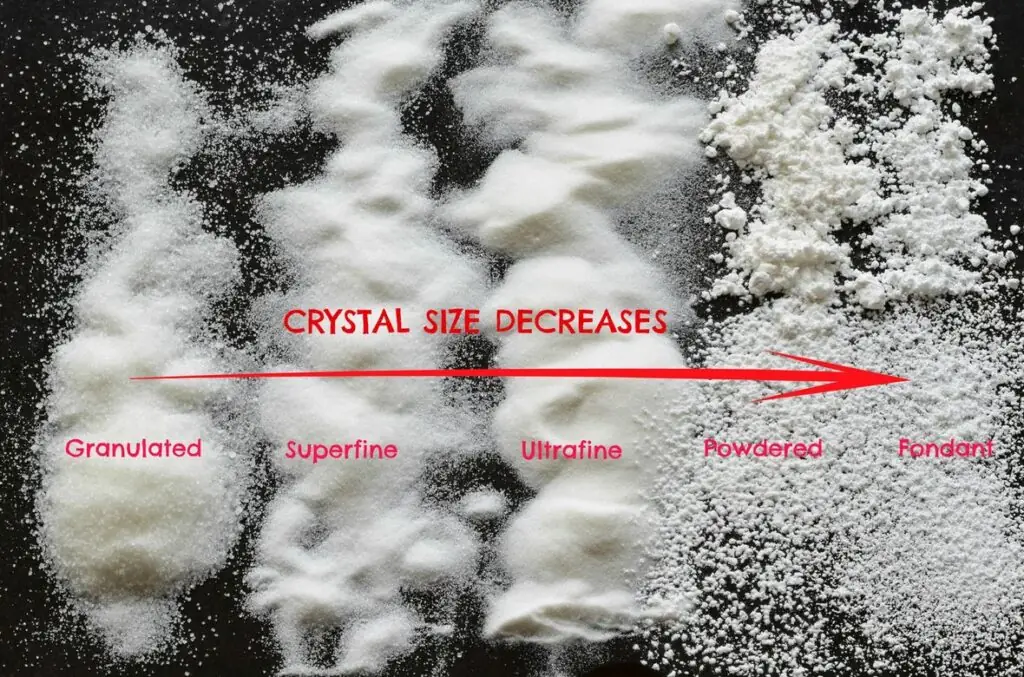
Another mistake is to use granules of sugar that are too fine. Particles that are too small can irritate sensitive skin and cause redness or itching after use. Use more coarse granules instead; these won’t scratch as easily but still provide effective exfoliation.
It’s also essential to pay attention to the ratios between ingredients in the recipe. A good rule of thumb is one part sugar (or substitute) with one part liquid or oil. Any more than this may lead to an overly runny consistency that doesn’t stay together. Making sure all measurements are accurate will guarantee a successful outcome every time!
Alternate Ingredients
Like any recipe, there are certain ingredients that you will want to include in your creation. However, what if we told you that there were alternate options available? Let’s dive into these alternate ingredients so you can craft a unique scrub tailored just for you!
First, prepare the base mixture as directed in the first section. Then add one tablespoon of honey for additional moisturizing benefits. Finally, stir in up to five drops of essential oil for scent – lavender is always a good choice! Now that the base has been created, the possibilities are endless.
Experiment with new combinations, such as adding oatmeal or ground coffee beans for extra exfoliating power. Try blending together some raw cacao powder and peppermint essential oils into your scrub recipe for an invigorating wake-up call each morning!
You can also use salt instead of sugar. Salt has its own naturally-occurring abrasive properties, which makes it ideal for scrubbing dead skin cells away. It also does not dissolve in water as quickly as sugar does, making it more manageable over time.
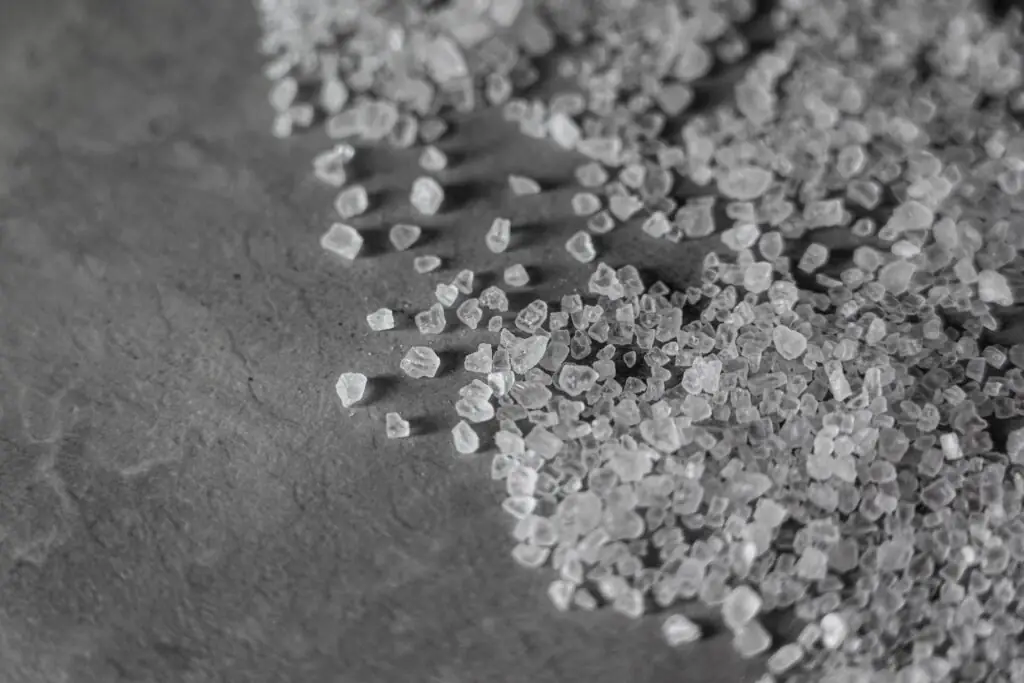
If that wasn’t enough, sea salt contains minerals like magnesium and potassium, which are beneficial for our skin health. Taking advantage of these benefits may require some experimentation on your part, depending on what type of consistency or texture you’re aiming for.
Another option lies within carrier oils such as jojoba oil or almond oil. Both have been used extensively in beauty products due to their moisturizing qualities and ability to provide deep nourishment. And who could forget about essential oils? These fragrant liquids add another layer of relaxation while providing additional antibacterial protection.
All in all, everyone has their own secret sugar body scrub recipe. Many people, though, prefer brown sugar body scrub recipes as they are often described to be gentler on the skin.
Different Packaging Options
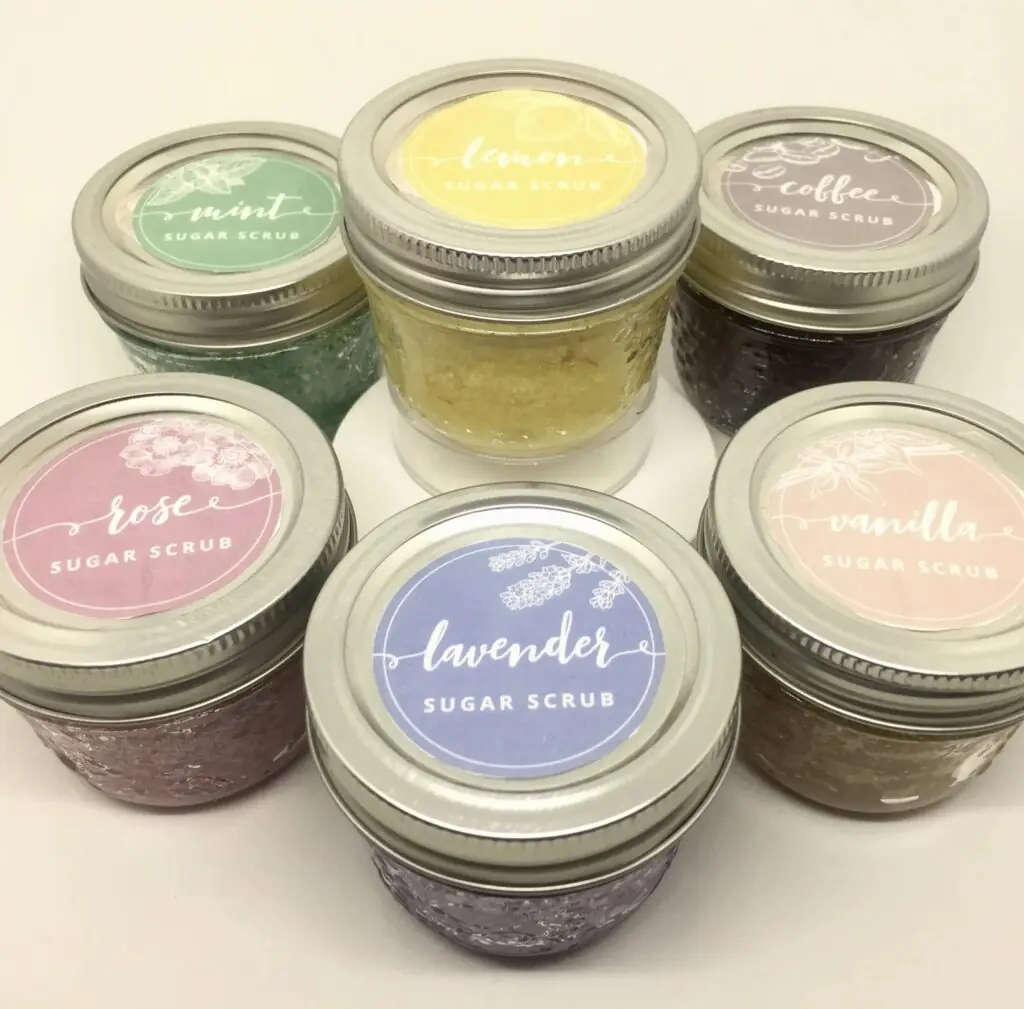
You certainly want your packaging to look attractive, but practicality is also of major importance. There are many ways to package your homemade scrub. You can keep it simple or have it stand out — especially if you want to use it as a gift or an item for sale.
To get started, here’s a list of three great options when it comes time to give your creation some love:
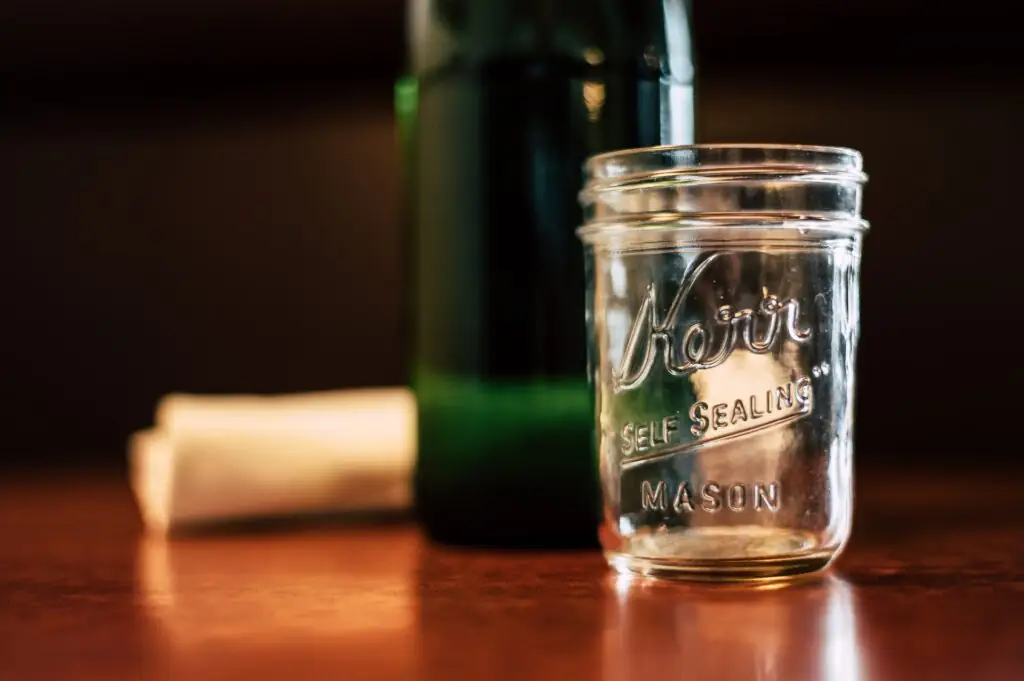
- Mason jars or recycled glass containers – Perfect if you’re going for a rustic feel; these vessels provide a classic look that will never go out of style.
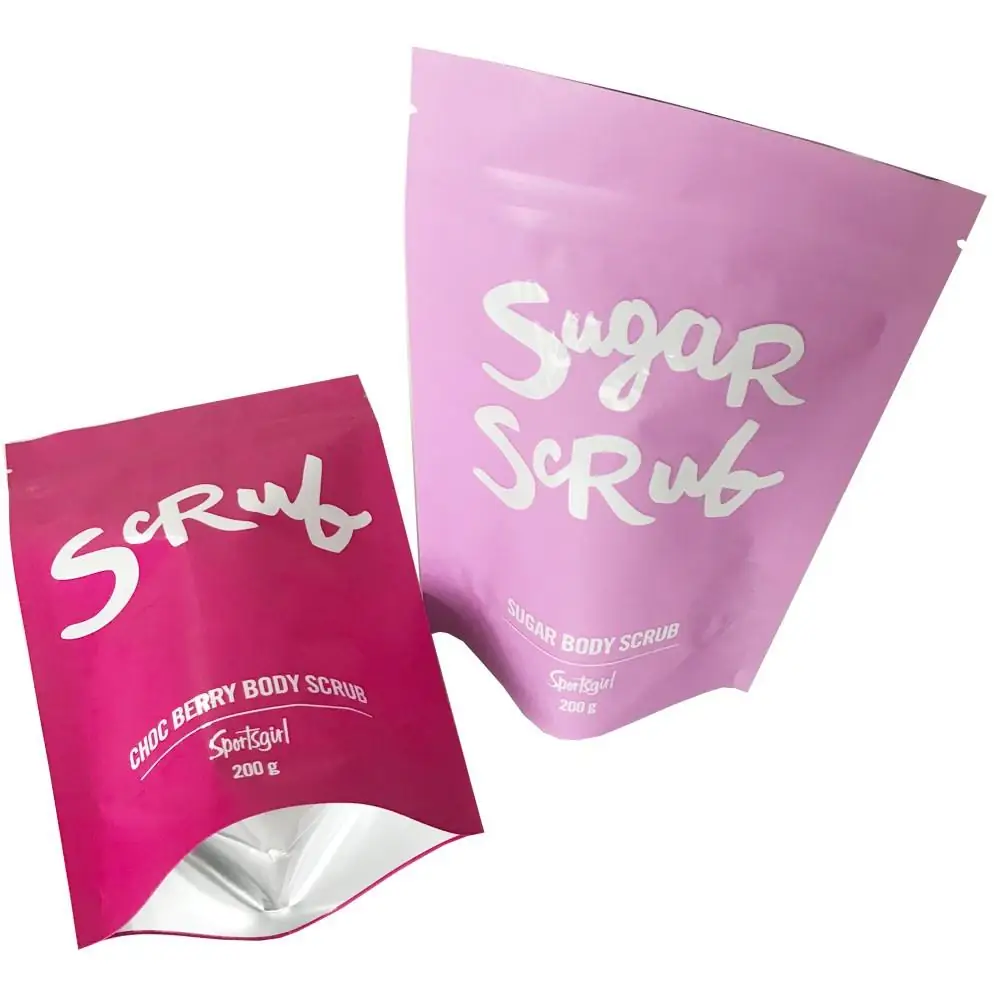
- Reusable bags – These colorful creations show off your brand identity while being eco-friendly at the same time!
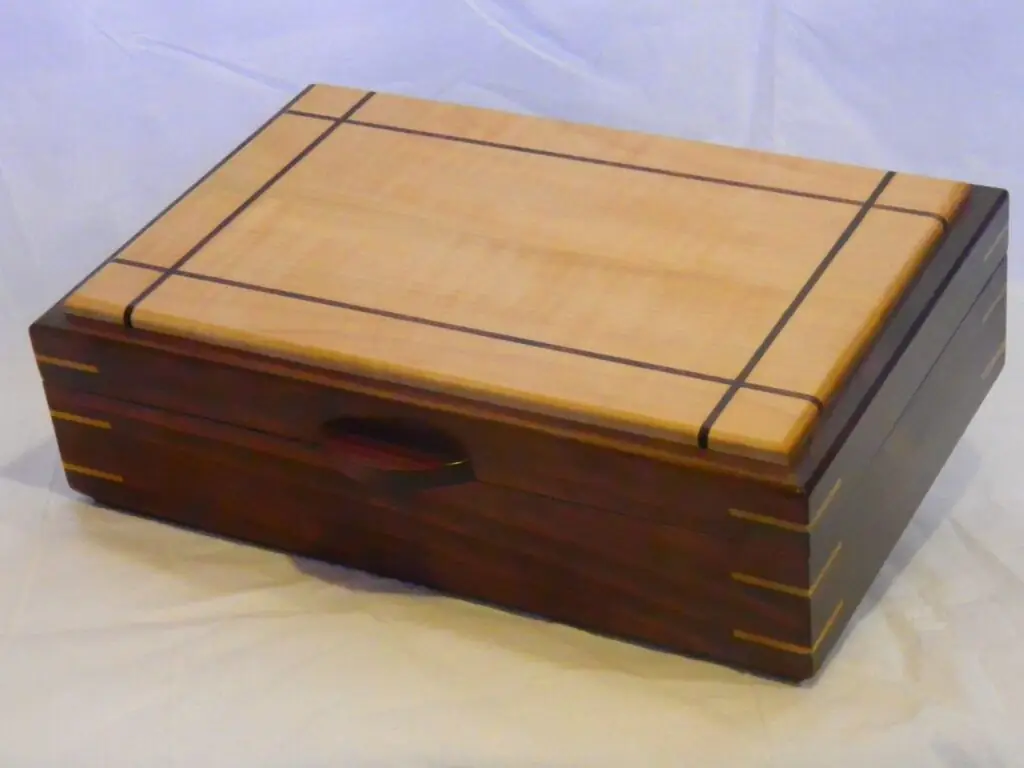
- Custom boxes – An option that screams luxury while giving customers something special they won’t forget anytime soon.
Remember that presentation matters just as much as quality ingredients. So don’t skimp on making sure everything looks professional and aesthetically pleasing — after all, first impressions last forever!
Frequently Asked Questions
In this section you will find the answers to commonly asked questions about scrubs.
What Is the Shelf Life of Homemade Sugar Scrubs?
With so many variations out there, it can be tricky to pinpoint the exact shelf life for every DIY scrub project. However, we can make fairly accurate guesses by using some basic knowledge about how ingredients interact and break down over time.
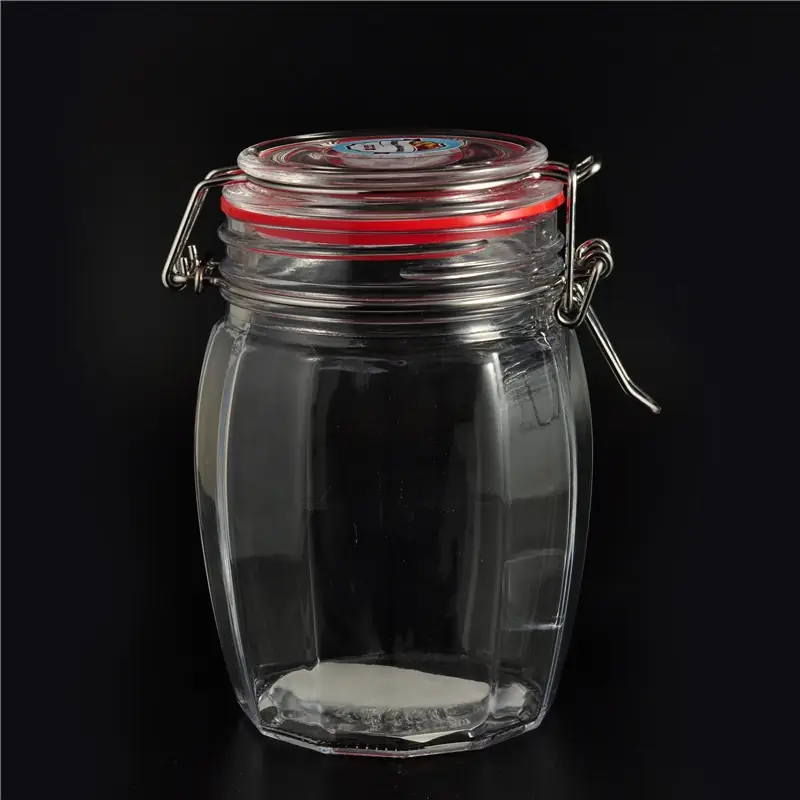
Firstly, understanding the kind of sugars used in homemade scrubs is key when deciphering their lifespan. Generally speaking, granulated white sugar has an indefinite shelf life, as does brown sugar if stored correctly (in an airtight container).
Both are also very affordable options that don’t require any extra preservatives or additives, which might reduce their longevity. Honey and agave syrup have shorter shelf lives due to their water content. They last only one month each before they start to spoil. If using either of these sweeteners in your scrub recipes, make sure you use them quickly!

Finally, always remember to check the expiration dates on other ingredients you include in your mix too. Any ingredient containing moisture or fat should not be kept around longer than two months at most, depending on storage conditions.
All natural products tend to decay faster than specially treated ones. So it’s important to use your mixes before they start going bad.
Are Sugar Scrubs Safe for Sensitive Skin?
For those with sensitive skin, it can be especially concerning to try something new on their delicate complexion. With the right ingredients and guidance, however, creating your own scrub recipes can be fun and beneficial!
Signs You Shouldn’t Use Scrubs:
- If you have redness or irritation in areas where you plan to use the scrub.
- Allergies are no joke, so pay attention if any ingredient causes itching or burning sensations upon contact.
- If you already experience dry patches of skin, skip the scrub, as it can make your dryness even worse.
- Overly abrasive scrubs should also be avoided due to the potential damage they may cause to delicate facial tissue.
- When in doubt, test a small area before going all out with the recipe!
The most important factor is choosing natural ingredients like unrefined sugars and organic oils that won’t clog pores or trigger allergic reactions. Additionally, adding nourishing elements such as essential oils adds extra soothing benefits without irritating the skin further. Choose non-abrasive exfoliants like finely ground oats or almond flour instead of salt or walnut shells.
How Often Should Sugar Scrubs Be Used?
It may be tempting to use your scrubs regularly for maximum benefit. However, experts recommend limiting usage to two or three times per week at most. Depending on individual skin type, however, some might require less frequent usage due to sensitivity levels. Those with very sensitive skin should limit themselves to once every couple of weeks instead.
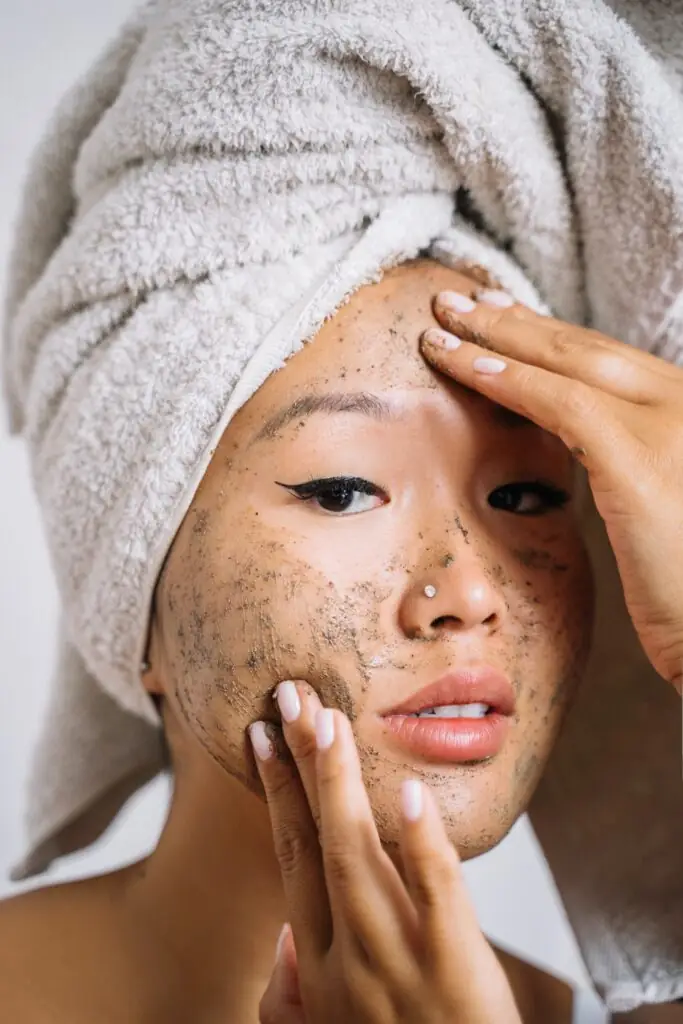
On top of that, always make sure that you don’t over-scrub. Gently massage the scrub onto your face in small circular motions before rinsing off thoroughly with lukewarm water after 1-2 minutes max!
If you’re wondering how to sugar scrub your body, apply the same rules. However, your body can tolerate a more abrasive paste. As such, there’s more leeway there.
Conclusion
In conclusion, making body sugar scrub recipes at home is a great way to get spa-level results in the comfort of your own home. Not only are they easy and economical to make, but you can customize them with your favorite ingredients for the perfect blend. Plus, they offer many benefits, such as moisturizing skin and preventing wrinkles. By following this guide, you’ll be able to create breathtaking scrubs that tantalize all five senses. These scrubs will leave your skin glowing like it’s never glowed before — so don’t be afraid to indulge yourself and give your body some much-needed self-care!